Adjusting HVAC Damper Valves: Perfect Zoned Temperature & Energy Savings
Category : Blog
Properly adjusted HVAC damper valves are the key to achieving consistent comfort throughout your home while minimizing energy waste. HVAC damper valves control airflow to different zones, allowing you to direct conditioned air where it’s needed most. When imbalanced, some rooms become too hot while others remain cold, forcing your HVAC system to work harder and increasing utility bills. According to the U.S. Department of Energy, properly balanced duct systems with correctly adjusted HVAC damper valves can reduce energy consumption by up to 20 percent.
This comprehensive guide provides a step-by-step process for adjusting HVAC damper valves to achieve perfect zoned temperature control and maximize energy savings. Whether you have manual damper valves in a simple residential system or automatic zone damper valves in a complex commercial setup, these techniques will help you optimize airflow distribution and improve overall system efficiency.

Pre-Adjustment Prep & Baseline Testing
Locate Dampers & Map Your HVAC Zones
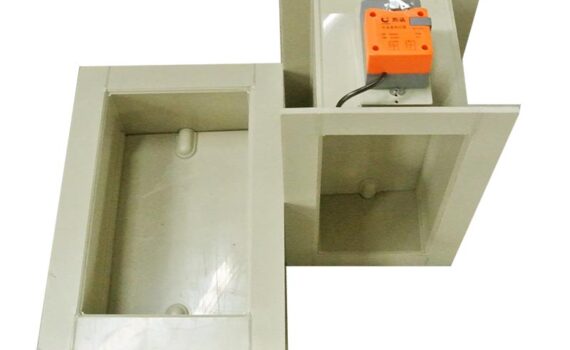
Before adjusting any HVAC damper valves, you must first locate all damper valves in your system and map your HVAC zones. Manual damper valves are typically found in the main trunk lines near the air handler or in branch ducts leading to specific rooms. They often have a lever handle that indicates the opening position. Automatic zone damper valves are motorized and controlled by a zone thermostat or building automation system.
Create a simple diagram of your home or building, marking each supply vent and its corresponding damper valve location. Identify which vents serve each room or zone. This mapping is essential for systematic adjustment and helps prevent accidentally closing off airflow to entire sections of your building. For complex systems, consult your HVAC system’s design documents or contact the installer for a duct layout diagram following SMACNA construction standards.
Test Baseline Temperatures to Identify Imbalances
Conduct a baseline temperature test to identify existing imbalances before making any adjustments to your HVAC damper valves. Use a digital thermometer to measure temperatures at each supply vent and in the center of each room. Record these measurements in a table along with the damper valve position (fully open, partially closed, or fully closed). Note the time of day and outdoor temperature, as these factors affect readings.
The following table provides a template for recording baseline measurements:
| Room/Zone | Supply Vent Temp (°F) | Room Temp (°F) | Damper Position | Notes |
|---|---|---|---|---|
| Living Room | 68 | 72 | Fully Open | Slightly warm |
| Master Bedroom | 65 | 70 | Partially Closed | Cool at night |
| Kitchen | 70 | 73 | Fully Open | Hot during cooking |
This baseline data provides a reference point for measuring improvement after HVAC damper valve adjustments. Identify rooms that are consistently too hot or too cold, as these will be your primary focus during the adjustment process.
Gather Tools for Precise Damper Valve Adjustment
Having the right tools ensures precise and efficient HVAC damper valve adjustment. Essential tools include a screwdriver (often a flathead or nut driver) for manual damper valve levers, a digital thermometer for temperature measurements, and a notepad for recording data. For automatic zone damper valves, you may need a multimeter to test motor continuity and a zone control panel manual for calibration instructions.
Additional helpful tools include a flashlight for inspecting ductwork, a step ladder for accessing ceiling ducts, and an airflow hood or anemometer for measuring CFM at vents. Safety equipment such as gloves and safety glasses is also recommended when working in attics or crawl spaces. Having these tools ready before starting ensures a smooth adjustment process without interruptions.
Step-by-Step Damper Valve Adjustment Process
Adjusting Manual Damper Valves for Balanced Zone Airflow
Manual HVAC damper valve adjustment is a balancing act between too much and too little airflow. Start with all damper valves fully open, then systematically close them to reduce airflow to over-conditioned rooms while maintaining adequate airflow to under-conditioned rooms. Make small adjustments—typically 10 to 15 percent changes—and wait 15 to 30 minutes for temperatures to stabilize before measuring again.
The goal is to achieve temperatures within 2 degrees Fahrenheit of your thermostat setpoint across all rooms. If a room remains too warm, slightly close the damper valve serving that room. If a room remains too cool, open its damper valve slightly or check for obstructions. Continue this iterative process until all zones reach target temperatures. Remember that closing damper valves too much can increase static pressure and strain your HVAC system, so avoid completely closing damper valves unless absolutely necessary. For more information on damper valve selection, visit our website.
Calibrating Automatic Zone Damper Valves for Precision Control
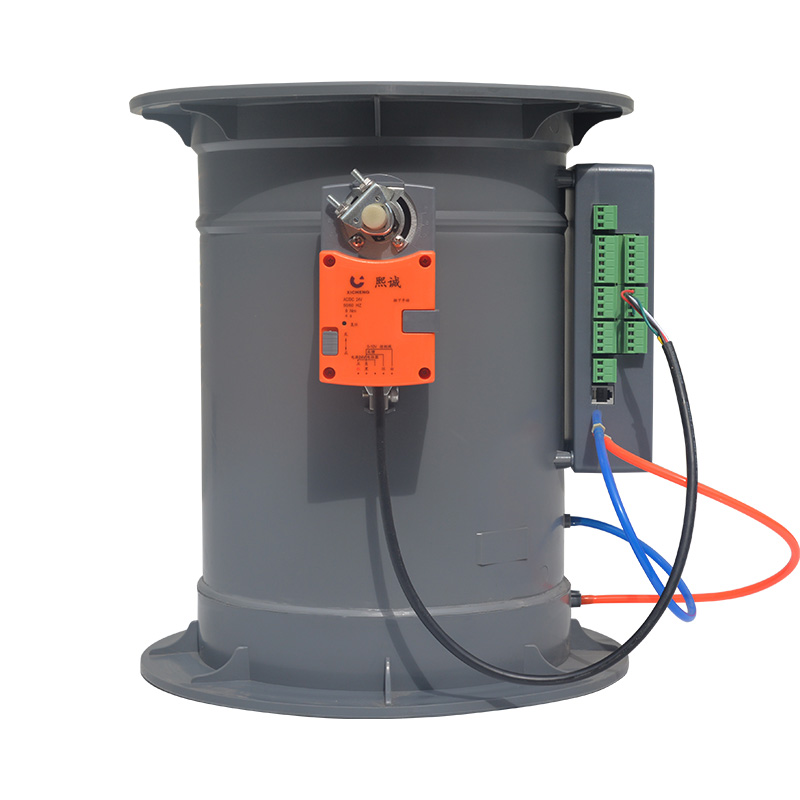
Automatic zone HVAC damper valves require calibration through the zone control panel or building automation system. Begin by verifying that each damper valve motor receives power and responds to commands from its zone thermostat. Use a multimeter to check voltage at the damper valve motor terminals when the thermostat calls for heating or cooling.
Next, calibrate the damper valve’s closed and open positions. Most systems have limit switches or position sensors that tell the control panel when the damper valve is fully open or closed. Refer to your system’s manual for specific calibration procedures. Some advanced systems allow you to program airflow curves for each zone, providing even finer control. After calibration, test each zone by adjusting the thermostat and verifying that the corresponding damper valve opens and closes appropriately. This process aligns with ASHRAE standards for zone control systems.
Post-Adjustment Testing to Verify Temperature Balance
After making adjustments to your HVAC damper valves, conduct post-adjustment testing to verify that temperature balance has improved. Repeat the baseline temperature test using the same methodology and record the new measurements in your table. Compare the before-and-after data to quantify the improvement in temperature consistency across zones.
Check that all rooms are within the desired temperature range and that no room has become excessively hot or cold due to the adjustments. If imbalances persist, revisit the damper valve positions and make further minor adjustments. Also, listen for unusual noises from the HVAC system, as excessive damper valve closure can cause whistling or increased fan noise, indicating high static pressure that may require professional attention from a certified technician.
Sustaining Balance & Long-Term Energy Savings
How Proper Damper Valve Adjustment Maximizes Monthly Energy Savings
Properly adjusted HVAC damper valves significantly reduce energy consumption by eliminating over-conditioning of spaces. When air is distributed evenly, the HVAC system runs for shorter cycles and maintains more consistent temperatures, reducing wear on components. According to the Air Conditioning Contractors of America (ACCA), balanced systems with properly adjusted damper valves can achieve 10 to 25 percent energy savings compared to imbalanced systems.
The energy savings compound over time. A system that runs 15 minutes less per hour can save substantial electricity or gas costs, especially in extreme weather. Additionally, balanced airflow reduces the load on the blower motor, extending its lifespan and delaying replacement costs. For commercial buildings, these savings can be particularly significant due to larger system sizes and longer operating hours.
Tips to Maintain Consistent Zoned Temperatures Year-Round
Maintaining consistent zoned temperatures requires seasonal attention and minor adjustments to your HVAC damper valves. As outdoor temperatures change, the heating and cooling demands of different rooms shift. In summer, west-facing rooms may need more cooling, while in winter, north-facing rooms may require more heating. Periodically check temperatures and make small damper valve adjustments as needed.
Keep vents and registers clean and unobstructed to ensure proper airflow. Furniture, curtains, or rugs blocking vents can create localized imbalances. Also, ensure that window treatments are used effectively to reduce solar heat gain in summer and heat loss in winter. For automatic zone systems, verify that zone thermostats are calibrated and located away from direct sunlight or drafts for accurate temperature sensing.
Routine Maintenance to Prevent Future Airflow Imbalances
Routine maintenance prevents airflow imbalances from developing over time and ensures your HVAC damper valves continue operating correctly. Schedule annual HVAC inspections that include damper valve function checks and airflow measurements. Have a professional technician clean the blower assembly, evaporator coil, and condensate drain to maintain system efficiency. Dirty components can restrict airflow and negate the benefits of damper valve adjustments. Following SMACNA maintenance guidelines ensures proper system upkeep.
For manual damper valves, periodically check that levers are secure and not vibrating loose. For automatic damper valves, test motor operation and lubricate moving parts if recommended by the manufacturer. Keep zone control systems updated with the latest firmware to ensure optimal performance. By combining regular maintenance with proper HVAC damper valve adjustment, you can sustain energy savings and comfort for years to come. For specialized damper valve solutions and components, visit our website.