What is a ductwork damper?
Category : Blog
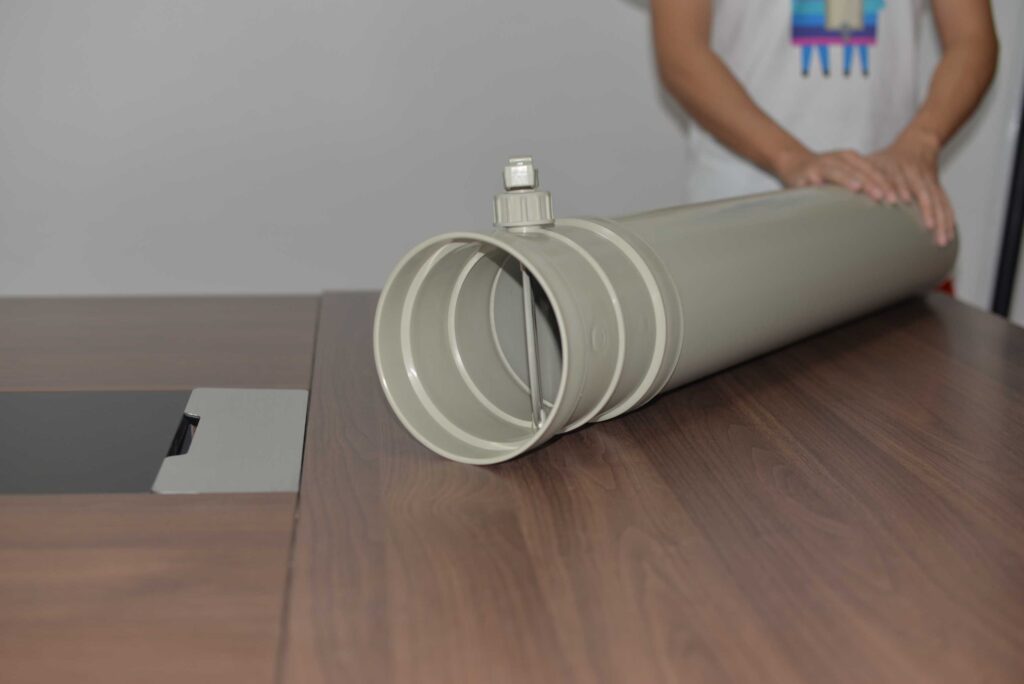
The ductwork damper is a system used in heating, ventilation, and air conditioning (HVAC) systems to regulate the flow of air through ducts. Dampers are usually adjusted by rotating vanes to restrict or increase airflow within the duct.
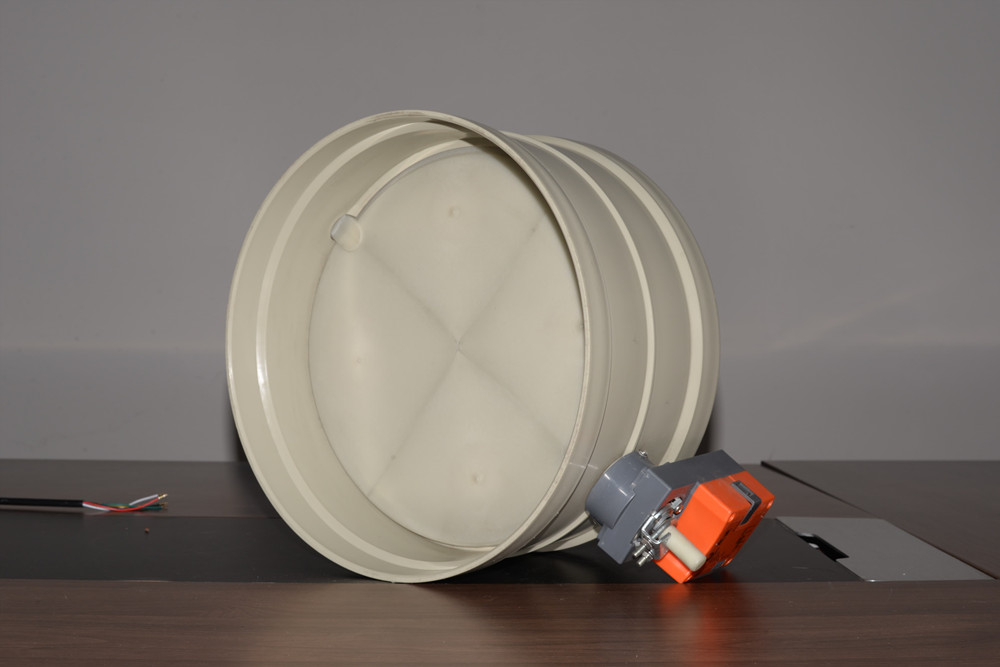
Duct dampers are usually located within the duct itself and can be manual damper or automatic damper. Manual dampers are adjusted manually, while automatic dampers are controlled by an electric motor or actuator that responds to changes in the HVAC system control signal.
Ductwork damper can be used to regulate airflow to specific areas of a building, or to regulate the amount of air delivered to different rooms or areas. They can also be used to control temperature and humidity levels within spaces.
The working principle of pipeline dampers involves a simple mechanism. Dampers consist of blades or plates that can be rotated or adjusted to control airflow. When the damper is open, it allows air to flow freely through the duct. When closed, it restricts the flow of air or blocks it entirely.
Automatic dampers are usually controlled by a thermostat or building automation system. The system can be programmed to open or close the damper based on temperature or airflow requirements. Through the HVAC system, the air volume passing through the air duct damper can be precisely controlled to achieve constant temperature and humidity indoors and maintain indoor air quality.
In summary, how a duct damper works involves blades or plates that can be rotated or adjusted to control airflow in an HVAC system. This allows precise control of air distribution and can improve energy efficiency and indoor air quality.
Installing a ductwork damper involves a few steps, and it’s essential to follow them carefully to ensure proper function and safety.
Here are the general steps to install a ductwork damper:
- Gather the necessary tools and materials: You will need a screwdriver, duct tape, a drill, a hole saw, and a ductwork damper.
- Turn off the HVAC system: To ensure safety, turn off the heating, ventilation, and air conditioning (HVAC) system.
- Identify the location of the damper: Determine where you want to install the damper. Typically, it’s best to install the damper close to the duct’s source of airflow.
- Cut a hole in the duct: Use a hole saw to cut a hole in the duct. The hole should be slightly smaller than the diameter of the damper.
- Install the damper: Insert the damper into the hole in the duct, making sure that it’s securely in place.
- Attach the damper: Use screws or duct tape to attach the damper to the duct. Make sure that the screws or tape are tight enough to hold the damper in place.
- Test the damper: Turn on the HVAC system and check the damper’s function by adjusting its position. If it works correctly, turn off the system and close the damper.
- Seal the damper: Use duct tape to seal the damper to the duct. This step ensures that the damper functions correctly and prevents air leaks.
- Turn on the HVAC system: Turn on the HVAC system and check for proper airflow. Make any necessary adjustments to the damper’s position to achieve the desired airflow.

It’s essential to remember that installing a ductwork damper requires knowledge of HVAC systems and ductwork. If you’re not confident in your abilities, it’s best to hire a professional to install the damper.
