HVAC Damper Valve Installation: Step-by-Step Guide, Code Requirements & Best Practices
Category : Blog
Proper HVAC damper valve installation is critical for ensuring efficient airflow control, energy savings, and compliance with safety codes. Whether you are installing damper valves in a residential zoned system or a commercial building, following a structured approach prevents common issues like airflow imbalance, premature wear, and code violations. According to the U.S. Department of Energy, correctly installed HVAC damper valves can improve system efficiency by up to 20%, reducing energy costs and enhancing comfort. This comprehensive guide covers the step-by-step damper valve installation process, essential code requirements, and industry best practices for long-term HVAC damper valve performance.
Step-by-Step HVAC Damper Valve Installation Process
Pre-Installation Prep: Sizing, Placement & Tool Preparation
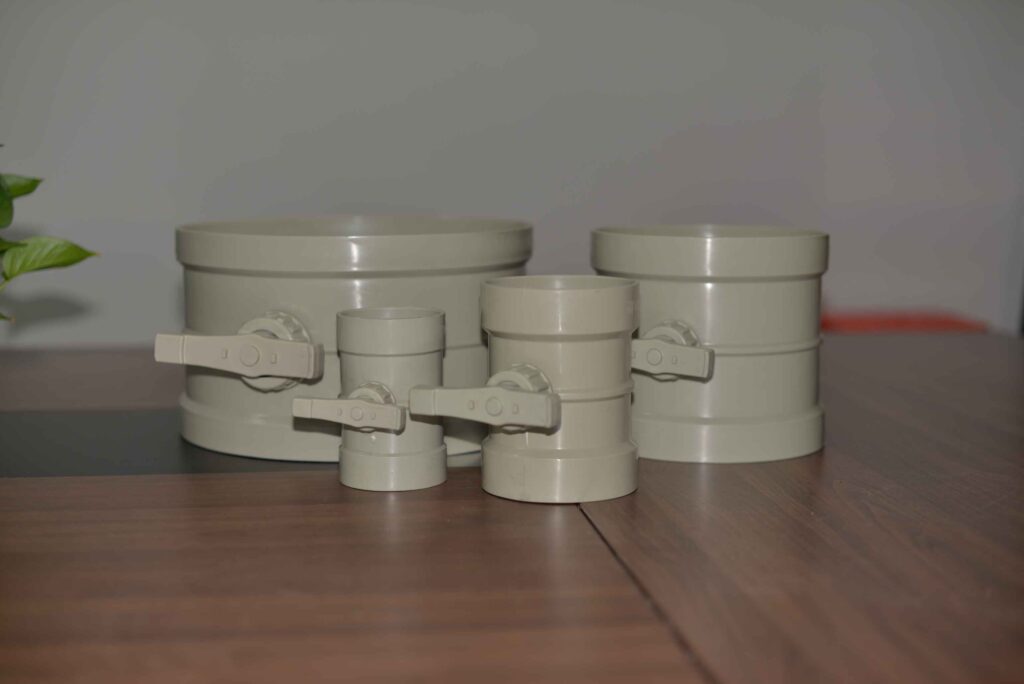
Before beginning HVAC damper valve installation, verify damper sizing and placement based on system design calculations. Use airflow requirements (CFM) and duct dimensions to select the appropriate damper valve size. Refer to manufacturer specifications and ACCA Manual D for duct sizing guidelines. Ensure damper valves are placed in accessible locations for future maintenance, typically within 25 feet of air handlers or in main trunk lines.
Gather necessary tools and materials to streamline the damper valve installation process. The following table outlines essential items:
| Tool/Material | Purpose | Notes |
|---|---|---|
| Damper Valve | airflow control | Select based on CFM and duct size |
| Screwdriver Set | Mounting and adjustments | Phillips and flathead varieties |
| Caulk Gun & Sealant | Sealing connections | Use mastic or foil tape |
| Insulation Material | Thermal protection | fiberglass or foam wrap |
| Multimeter | Electrical testing | For motorized dampers |
| Level | Alignment | Ensures proper damper positioning |
Prepare the work area by turning off the HVAC system and ensuring adequate ventilation. Review installation manuals and local code requirements specific to your region. Proper preparation ensures a smooth HVAC damper valve installation.
Core Step-by-Step Damper Valve Mounting Process
- Locate and Mark Placement: Identify the duct section where the damper valve will be installed. Mark the centerline and ensure sufficient straight duct length upstream and downstream for proper airflow.
- Cut Duct Opening: For inline damper valves, cut an opening in the ductwork matching the damper dimensions. Use tin snips or a duct cutter for metal ducts, ensuring clean edges.
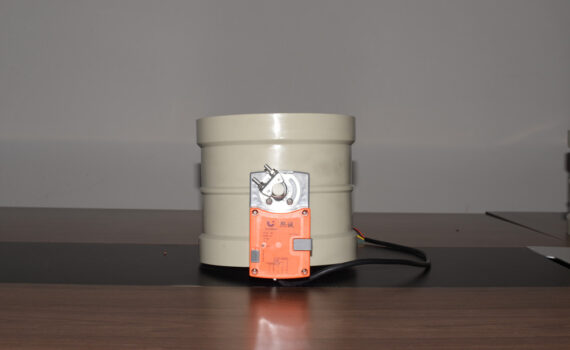
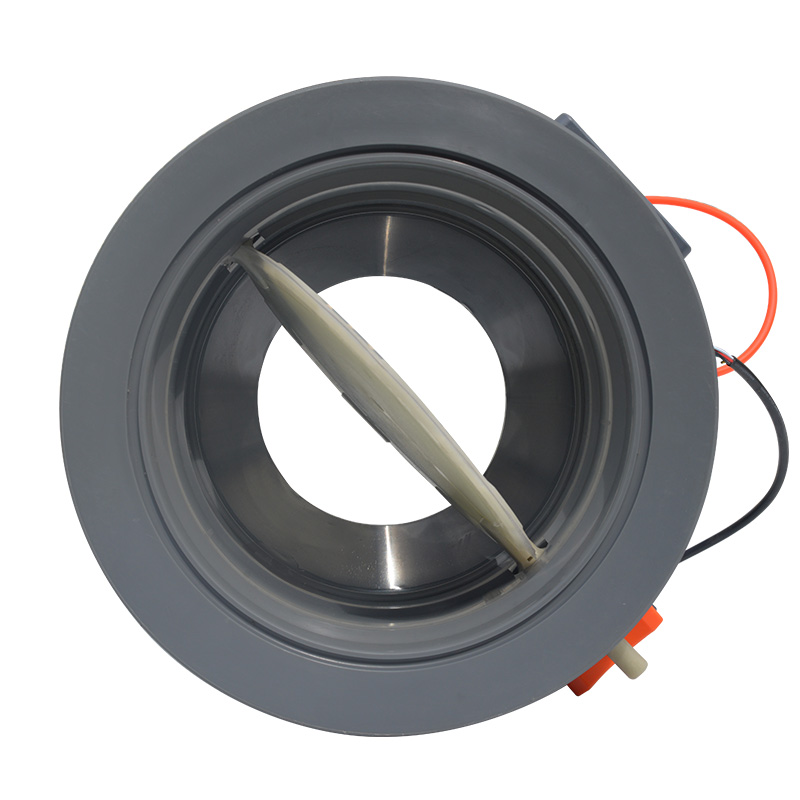
- Mount the Damper Valve: Secure the damper valve using screws or clamps, following manufacturer instructions. Ensure the damper blade rotates freely without obstruction. For motorized damper valves, connect the actuator to the control wiring according to the schematic.
- Seal Connections: Apply mastic or foil tape around all seams and joints to prevent air leaks. For insulated ducts, add insulation around the damper valve housing to minimize thermal loss.
- Secure Wiring (if applicable): For motorized damper valves, route low-voltage wiring to the zone control panel. Use wire nuts and secure connections to prevent loosening.
Post-Installation Testing, Calibration & Function Check
After mounting the damper valve, conduct thorough testing to verify proper operation. First, manually cycle the damper blade to ensure smooth movement without binding. For motorized damper valves, test actuator response using a multimeter to confirm voltage supply and signal reception.
Calibrate the damper valve to the correct open/close positions per system requirements. Use a manometer or airflow hood to measure static pressure and airflow at each zone. Adjust damper valve positions until balanced airflow is achieved across all zones. Document test results and damper settings for future reference. According to ASHRAE standards, post-installation testing is mandatory for commercial systems to ensure compliance and damper valve performance.
Code Requirements for Damper Valve Installation
Fire & Smoke Damper Compliance with NFPA & UL Standards
Fire and smoke damper valves must comply with strict codes to prevent fire spread through ductwork. The National Fire Protection Association (NFPA) Standard 90A and NFPA 92 govern installation requirements for fire damper valves in commercial buildings. UL 555 standards certify fire damper valves for temperature ratings and closure times. The following table compares key requirements:
| Standard | Application | Key Requirement |
|---|---|---|
| NFPA 90A | Air-conditioning and ventilating systems | Fire damper valves at fire-rated wall penetrations |
| NFPA 92 | Smoke control systems | Damper valve activation within 10 seconds of alarm |
| UL 555 | Fire damper valve certification | 1-hour to 3-hour fire ratings available |
| UL 1784 | Air leakage testing | Maximum leakage rates for smoke damper valves |
Install fire damper valves at penetrations through fire-rated walls, floors, and ceilings. Ensure clearances per manufacturer specs and provide access for inspection. Failure to comply can result in system rejection during building inspections.
Local Building Code Requirements for Zone Control Dampers
Local building codes, often based on the International Mechanical Code (IMC) or International Residential Code (IRC), dictate damper valve placement, accessibility, and sealing requirements. For example, the IMC requires damper valves in ductwork to be accessible for inspection and maintenance. Zone control damper valves must also comply with energy efficiency codes like IECC, which mandate sealing to minimize leakage.
Always consult your local building department for specific requirements, as codes vary by jurisdiction. Permits may be required for damper valve installation in commercial projects. Non-compliance can lead to fines, forced modifications, or failed inspections.
Mandatory Access & Inspection Requirements for Dampers
Building codes require damper valves to be accessible for routine inspection and maintenance. This includes providing access panels or removable sections in ductwork. Fire damper valves must be inspected annually per NFPA 90A, with documentation of closure tests. Smoke damper valves require testing during system commissioning and periodically thereafter.
Ensure damper valves are labeled with installation date, manufacturer, and maintenance instructions. Keep records of all inspections and repairs to demonstrate compliance during audits. Proper access and documentation are critical for safety and regulatory adherence.
Industry Best Practices for Long-Term Damper Performance
Proper Sealing & Insulation for Damper Connection Points
Sealing damper valve connections is essential to prevent air leakage, which can reduce system efficiency by up to 30%. Use mastic sealant or aluminum foil tape on all seams around the damper valve housing. For insulated ducts, apply insulation wrap directly to the damper valve body, ensuring no gaps. In humid environments, consider vapor barriers to prevent condensation.
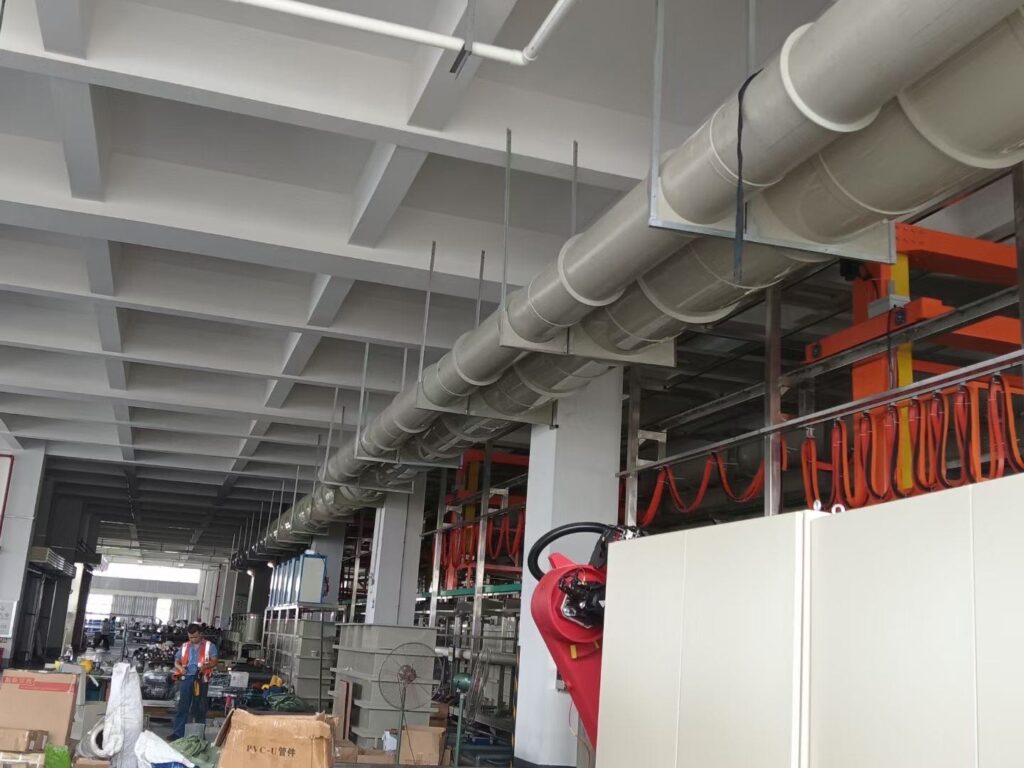
For specialized duct materials that resist corrosion and moisture, explore options at https://plastic-duct.com/. Proper sealing not only improves efficiency but also enhances indoor air quality by preventing contaminant entry around the damper valve.
Airflow Balancing Tips for Optimal Zone Performance
Achieving balanced airflow across zones is key to comfort and efficiency. Start with all damper valves fully open, then adjust incrementally based on temperature readings. Use an airflow hood to measure CFM at each supply register, aiming for within 10% of design values. Document adjustments and retest after changes.
For complex systems, consider professional balancing services. The Air Conditioning Contractors of America (ACCA) provides guidelines for airflow balancing. Proper balancing reduces hot/cold spots and minimizes fan energy consumption, ensuring damper valves operate as intended.
Routine Maintenance to Extend Damper Service Life
Schedule annual maintenance to inspect damper valves for wear, corrosion, or debris buildup. Clean damper valve blades and lubricate moving parts as recommended by the manufacturer. Test motorized damper valves for proper actuation and electrical connections. Replace worn components promptly to avoid system failures.
For commercial buildings, integrate damper valve maintenance into preventive maintenance contracts. Regular upkeep extends damper valve lifespan, ensures consistent performance, and maintains energy efficiency. For professional damper valve solutions and maintenance parts, visit https://ppairvalve.com/.